

Cupola Installation Guide: What to Expect
Step-by-step guide to installing your Lindentops cupola, from delivery to finished roofline.
No inventory. Quote support. Jobsite delivery included.

Start with the building, then choose size, tier, and accessories.
Browse All Cupolas →
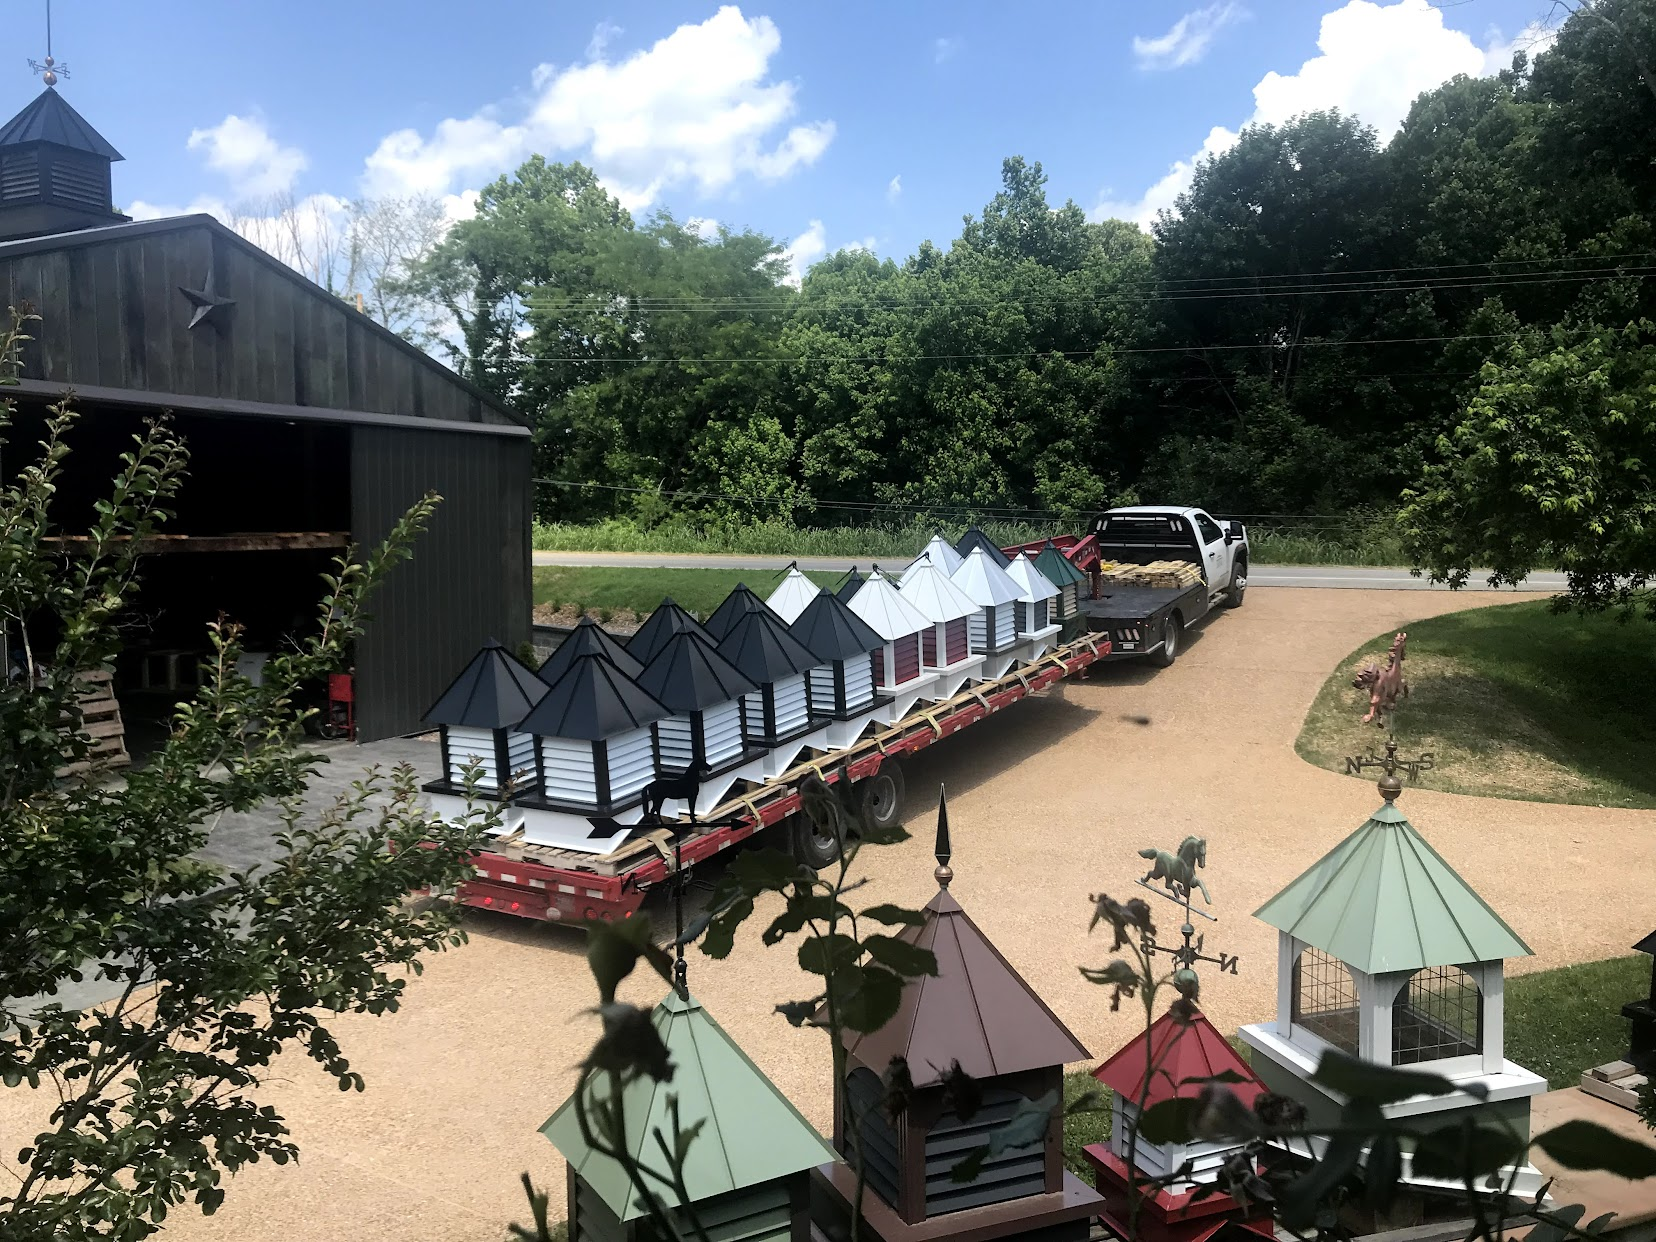
Tennessee-built cupolas on real buildings across the country.
Browse Gallery →
Sizing, pricing, installation — everything you need to finish the roofline.
Browse All Articles → Pricing
Three tiers, seven sizes, and the factors that shape your final quote. Understand Classic, Select, and Signature options before you call.
5 min read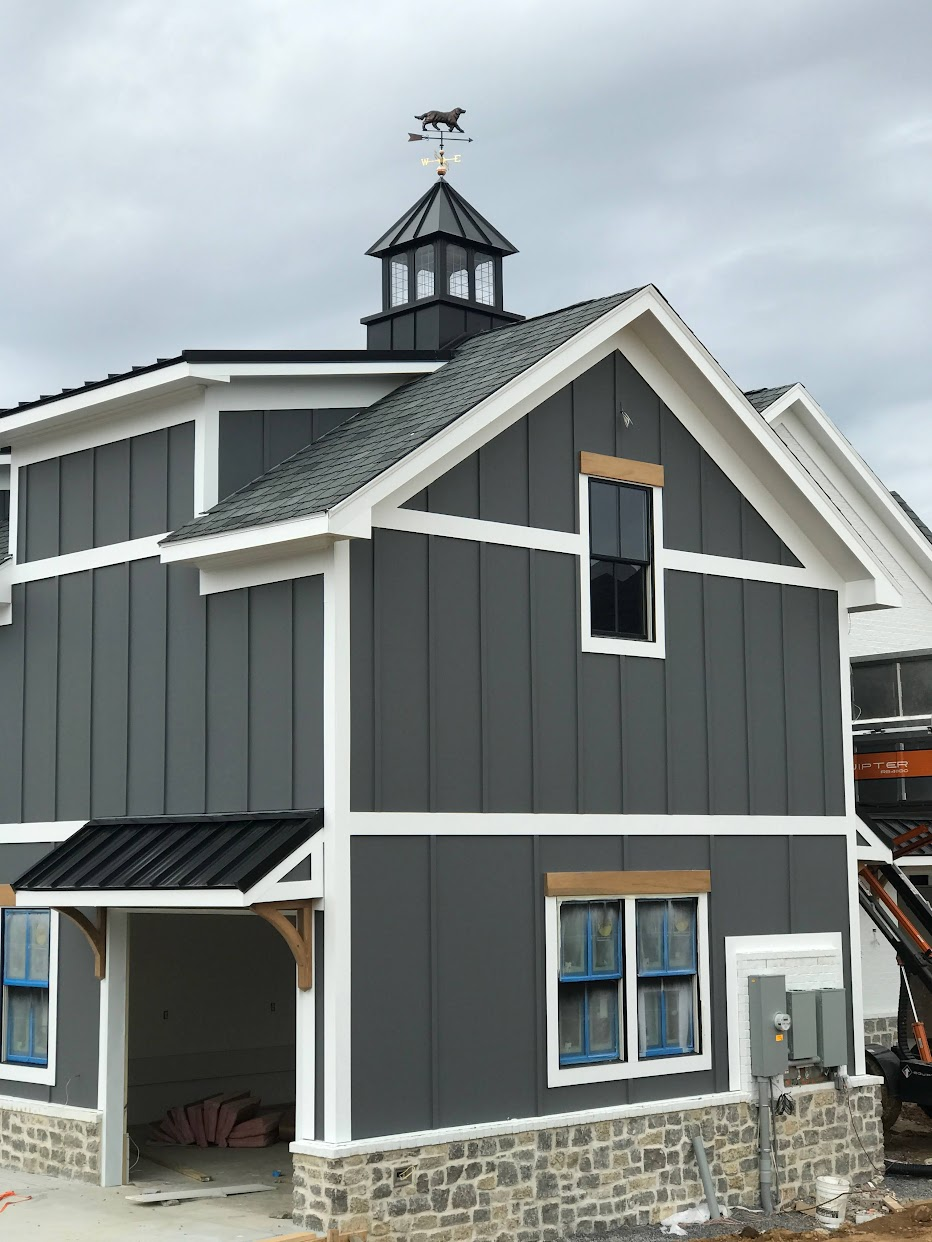 Installation
What to expect when your cupola arrives. From unboxing and inspection to mounting and final trim — a step-by-step walkthrough.
4 min read Sizing
Start with building width, then adjust for roof pitch and viewing distance. The most common question we get — answered with real examples.
3 min readStep-by-step guide to installing your Lindentops cupola, from delivery to finished roofline.
Your cupola arrives fully assembled and ready to mount. Check the packing list against contents, inspect for shipping damage, and ensure you have the necessary tools: drill, lag bolts (provided), sealant, and a helper or two for lifting.
Most installations require a 2x framed curb cut into the roof ridge. If your building is new construction, your builder can frame the opening during roof installation. For existing roofs, mark and cut the opening to match your cupola base dimensions, then frame with 2x4 or 2x6 lumber.
Smaller cupolas (18-30 inch) can be lifted by two people. Larger units may require a third person or mechanical assistance. Position the cupola centered on the ridge, with the base sitting flush on the curb framing.
Fasten the cupola base to the curb using the provided lag bolts. Apply roofing sealant around the base perimeter and all fastener heads. This is critical for waterproofing.
Most homeowners complete installation in 2-4 hours. Builders often finish in under an hour. Questions? Call the shop: (931) 589-3658.